


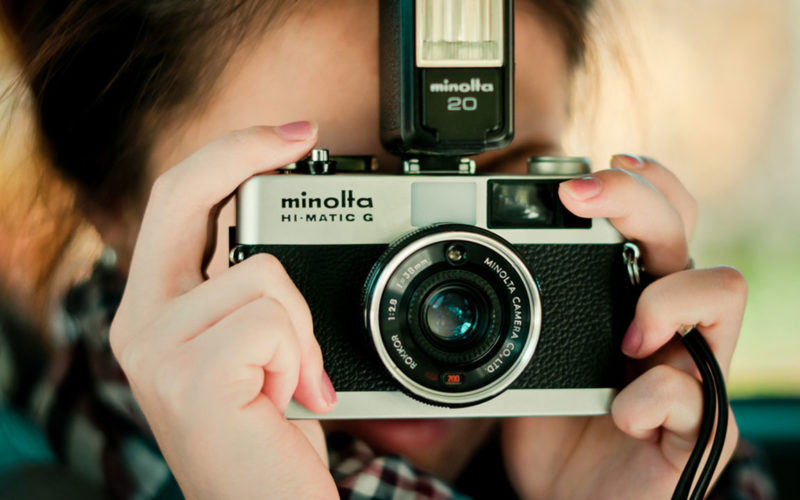
Lighting is a very important component of photography. You can do wonders with your camera if you know your lighting. The mood, the colour, the vibrancy, and even the aesthetic appeal of the image increases if there is good lighting.
You don’t need to do a professional course to know some basic rules of lighting (unless you want to become a professional photographer, for which I’d recommend professional training). But, as long as you want to click decent images wherever you go, these lighting tips will help you to capture your subjects better.
Knowledge of both natural and studio lighting is important, hence I have divided these tips into two categories. So, here are some easy steps you can keep in mind before clicking photographs.
NATURAL LIGHTING
1. Either make it early or late.
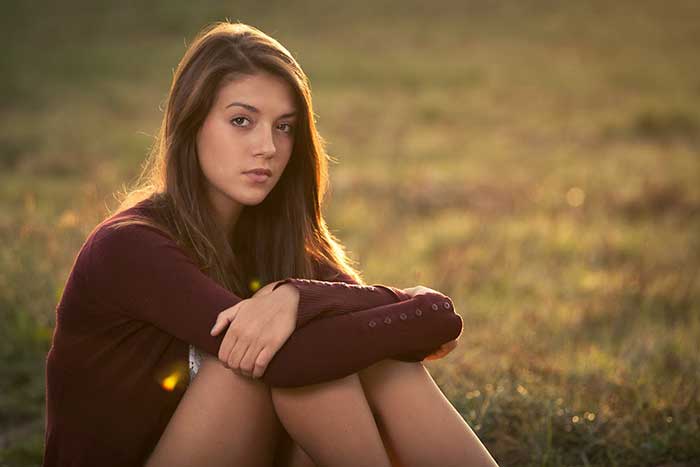
Sunrise and sunset are the best time to shoot outdoors. The light is more diffused, soft and doesn’t hurt your eyes. The outdoor portraits will look best with a soft yet warm lighting. Direct sunlight will be too harsh and will cast sharp shadows.
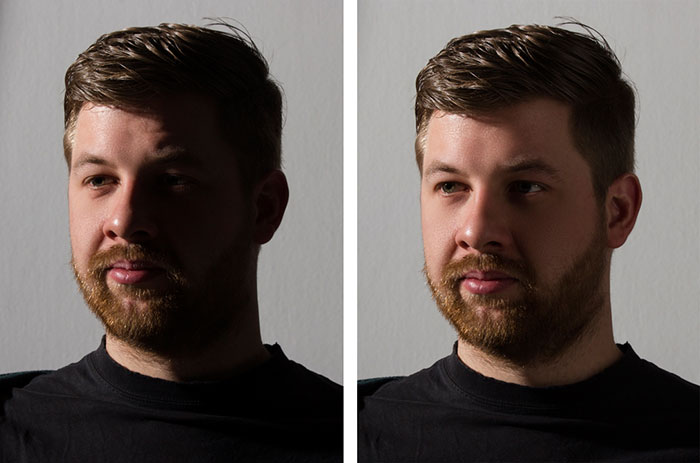
2. If you are still shooting in the noon, don’t use direct sunlight.
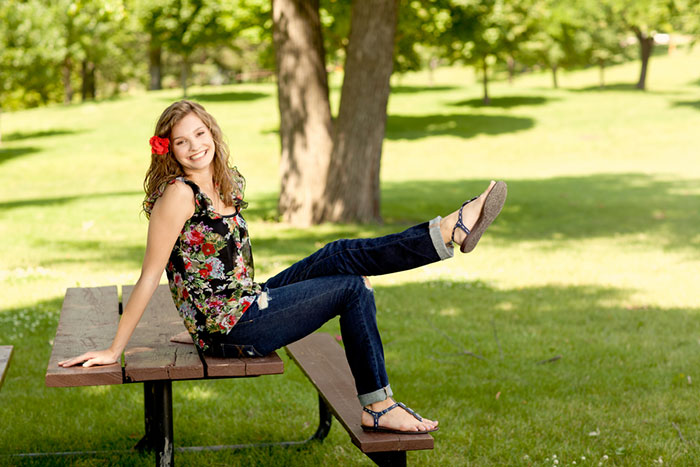
Position your subject in a manner so that sunlight doesn’t directly fall on their face. The sharp shadows and extra contrast will ruin your image and it will be over exposed. Direct sunlight on the face can also lead to squinting and unflattering expression. So, try shooting in a shade.
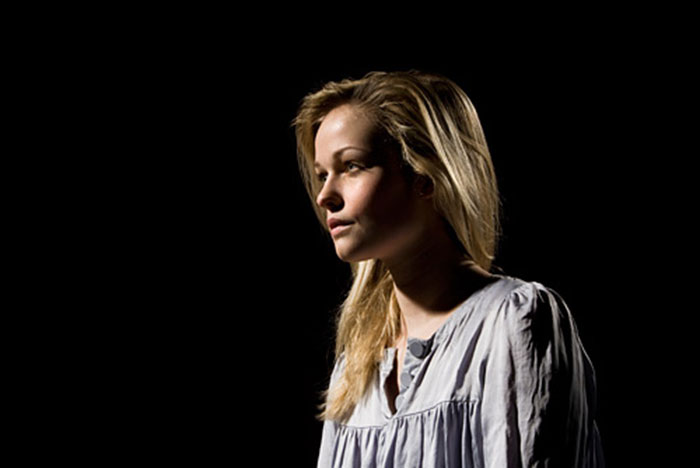
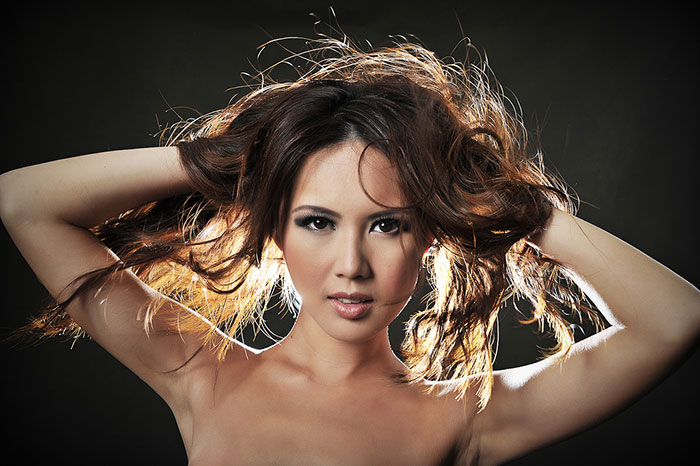
3. Shoot against a dark background
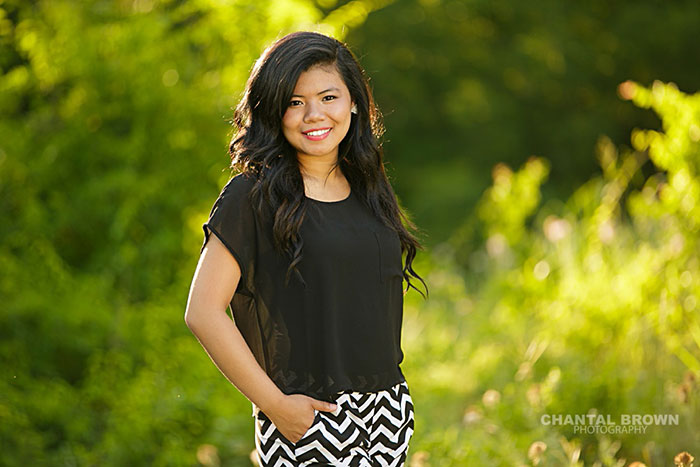
The backlight (when the sun is behind the subject) creates a halo-like effect around the subject’s head and body, and it’s extremely beautiful to look at. But, that light won’t be visible if your subject is standing in front of an already bright background. Hence, a darker background is preferable, as it makes the subject stand out in the picture.
4. Avoid a bad lens flare, but be open to a creative one
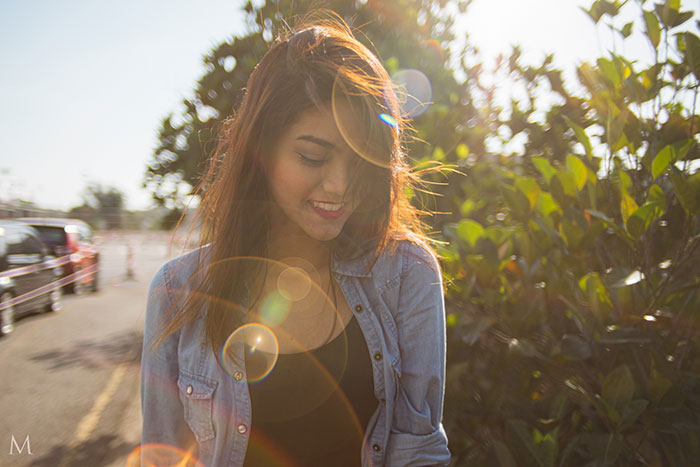
Shooting against the sun can cause multiple flares. Try to avoid them by changing your position or using a lens hood. On the other hand, you can sometimes use the same flare creatively to bring out a certain moon in the image.
Choose a time when the sun is low, preferably in the morning or evening. Keep the aperture small as it will give you a sharp pointed flare. Do not point the camera directly at the sun. Let the beam creep in from one corner of the frame, or from behind your subject.
5. The indoor natural light
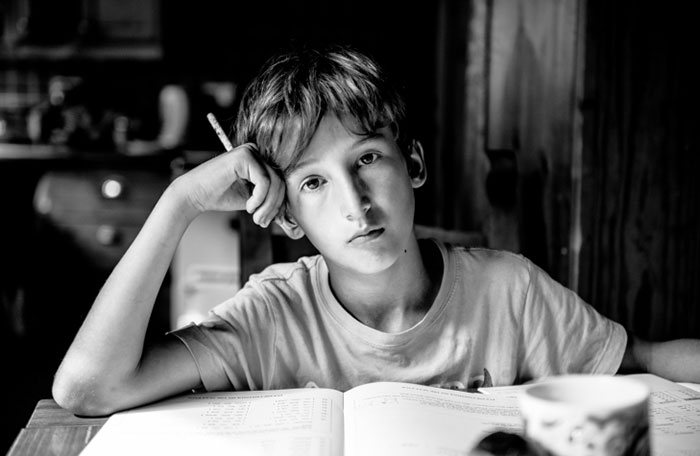
In most of the cases, the source will either be a window or a door. Make sure that the light is not too bright and sharp. If so, then use curtains or a white bed sheet to diffuse the light a bit. Also, avoid too much light on the face so that the subject doesn’t squint.
If, the light is falling on one side, make sure it’s not too harsh. If the other half of the face looks under exposed, use a reflector to create a fill light.
STUDIO LIGHTING
6. Know the temperature of your lights
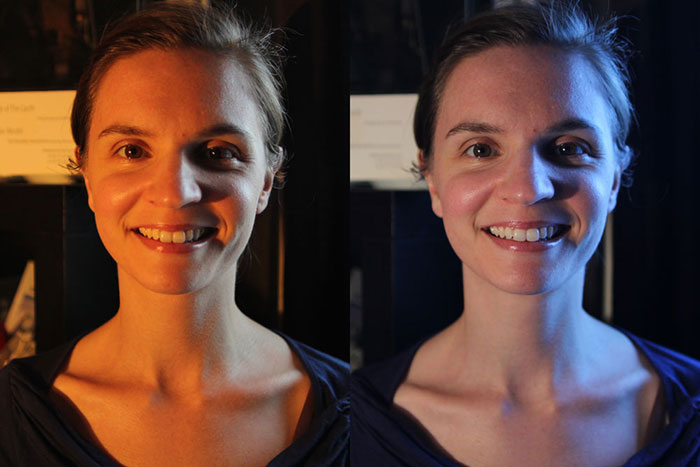
Once you decide the amount of light you need, decide the temperature you want. There are primarily three temperatures. Hot, warm and cold. The traditional tungsten or Metal Halide Iodide (HMI) lights are called ‘Hot Lights’ and they burn continuously. Fluorescent light bulbs fall under the warm light and Cold lights are electronic flashes which are much more powerful than the ones on your camera.
7. Position your key light properly
The key light is the main light used on your subject. You can place it anywhere you want, but a common placement is about 45 degrees to either side of the camera, and about 45 degrees up from the subject. The elevation and the side of the light can be your creative call.
8. The fill light plays a major role
The purpose of the fill light is simply to fill in the shadows caused by the key light. But be very careful about one thing. The fill light should not create a second shadow. If you see two shadows, that means the fill light is too powerful and needs to be reduced. In some cases, even a reflector can be used as a fill.
9. The backlight will do the remaining magic
Remember the glowing rim of light we discussed in natural lighting? That is what backlight is going to do. The light should be placed above the subject’s head and behind them so it points about 45 degrees down toward their hair and back. Try using barn door so that you can control the direction.
10. Do not hesitate in using peripherals
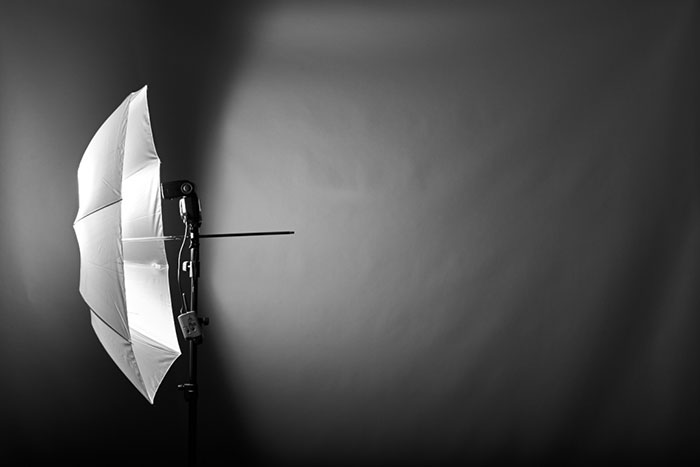
You don’t have to be a professional to use some of these. They are easy to use, and can be really helpful at times. Experiment with a honeycomb grid, snoot, softbox, reflective umbrellas etc. Do seek assistance if you don’t know how to use them properly.
Hope these were helpful. Until next time… 🙂